


Mobility Scooter Speed Limiter Removal: A Complete Guide
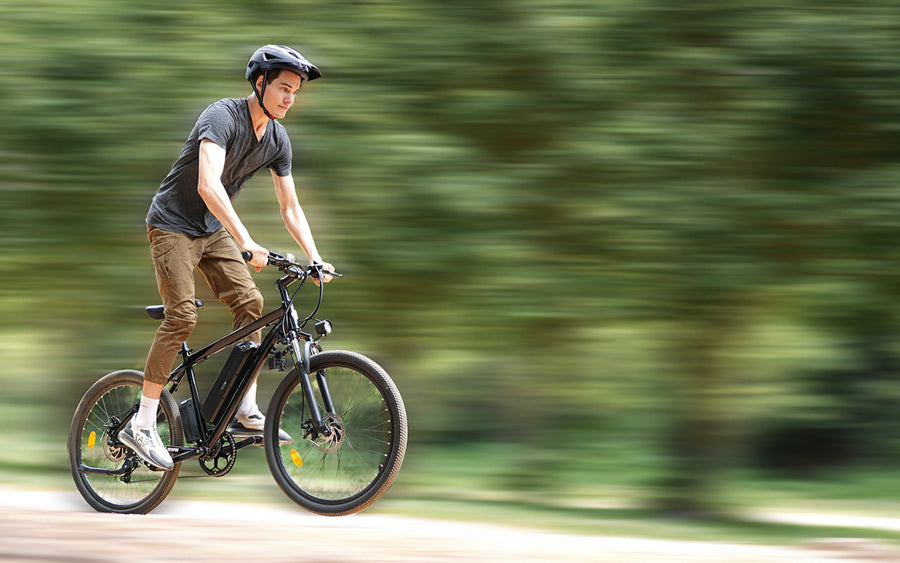
Mobility scooters offer unmatched freedom and independence, helping users move confidently and enjoy life to the fullest. For some riders, speed plays a crucial role in maximizing this experience. Understanding how mobility scooter speed works, the legal limits in place, and safe ways to increase performance is essential.
In this complete guide to mobility scooter speed limiter removal, we cover everything you need to know—from how fast a mobility scooter can go to the methods for safely boosting its speed—so you can make informed decisions and get the most out of your ride.
What is a Mobility Scooter Speed Limiter?
A mobility scooter speed limiter is a component built into the scooter’s control system that caps how fast the vehicle can go—usually between 4 and 8 mph. It controls the amount of power delivered to the motor, smoothing acceleration and preventing the scooter from reaching higher speeds. Some owners pursue mobility scooter speed limiter removal or professional tuning to boost top speed and responsiveness. With the right tools and guidance, these adjustments can be done safely at home while keeping the scooter performing reliably.
Methods to Remove or Bypass a Speed Limiter
1. Using the Digital Display Panel
If your mobility scooter comes with a digital control panel, you can often adjust performance settings directly from the screen. Many newer models, such as iScooter, offer built-in options for mobility scooter speed limiter removal that enhance speed and riding comfort.
2. Activating Sports Mode for Higher Speed
One of the most effective built-in options for mobility scooter speed limiter removal is the Sports Mode. This mode allows you to boost your scooter’s top speed beyond the standard factory limit, offering a smoother and more responsive ride.
To enable Sports Mode, follow these steps:
-
Turn on your scooter’s digital display.
-
Hold the hand brake while the display remains active.
-
Wait for the screen to show different driving modes.
-
Scroll down to the one marked “S”, which stands for Sports Mode.
-
Select it to unlock higher speed performance instantly.
Once Sports Mode is enabled, your scooter will deliver greater acceleration and extended speed capacity without needing external modifications.
3. When Your Scooter Doesn’t Have a Digital Display
If your model doesn’t include a digital dashboard or sport mode, you can still perform mobility scooter speed limiter removal by manually adjusting the controller or throttle connection.
Step-by-Step Guide for Speed Limiter Removal
If you’re looking to increase your scooter’s performance, this detailed mobility scooter speed limiter removal guide walks you through each step carefully. Follow these instructions to identify, access, and safely remove or adjust the speed limiter on your mobility scooter.
1. Check the Manufacturer’s Specifications
Before starting the process, review your scooter’s manufacturer specifications or user manual. This helps you understand whether your model allows speed adjustments or speed limiter removal. Some scooters have the limiter integrated into the motor or controller unit, which can make direct removal difficult. Many standard models, however, allow for direct access and mobility scooter speed limiter removal.
2. Locate the Speed Limiter on Your Mobility Scooter
The next step is to locate where the speed limiter is installed. On most scooters, it’s positioned under the seat or behind the front shroud, and you may need to remove these panels to access it.
In some models, sensors are installed near the rear wheel or transmission system. These sensors detect the rotation of the wheels and send signals to the controller to prevent the scooter from exceeding a certain speed. In such cases, you can increase the speed by disconnecting or removing the sensor wire.
For scooters with digital control displays (like iScooter models), you may find an option in the settings menu to deactivate the speed limiter. Often, this is done by activating the “Sport Mode.”
To do this:
-
Turn on the scooter display.
-
Press and hold the hand brake.
-
Use the light button to navigate to setting P3.
-
Press the Set or S button to confirm and save the new configuration.
If your display doesn’t control speed, continue with the manual process below.
3. Identify What the Speed Limiter Looks Like
Once you access the internal components, look for a small black box or module with multiple wires—this is typically the speed limiter (sometimes labeled as “governor” or “speed restrictor”). Make sure to note where each wire connects before proceeding, as this will help you reinstall it if needed.
4. Disconnect or Remove the Speed Limiter
There are generally two ways to perform a mobility scooter speed limiter removal:
-
Option 1: Disconnect the wires attached to the limiter.
-
Option 2: Remove the limiter box completely and reconnect the wiring directly.
When removing or disconnecting the limiter, handle the wires carefully to prevent damage. Keeping the limiter intact is useful if you ever want to reinstall it later.
5. Test the Scooter’s Maximum Speed
After completing your mobility scooter speed limiter removal, it’s time to test your mobility scooter’s new performance. Take it to an open, safe area such as an empty parking lot or wide pathway. Gradually accelerate to observe how the scooter behaves at higher speeds. Check that the motor runs smoothly and that steering, braking, and balance remain stable.
Essential Safety Tips for Mobility Scooter Speed Limiter Removal
Before performing any mobility scooter speed limiter removal, it’s crucial to take proper safety measures to ensure the process is smooth, safe, and accident-free. Handling electrical components and wiring requires attention to detail, the right tools, and a safe workspace. Below are essential safety precautions to follow before and during the procedure.
1. Wear Proper Protective Gear
Always wear gloves and safety glasses during mobility scooter speed limiter removal to avoid injuries. Gloves protect your hands from sharp edges or wiring, while glasses prevent dust, debris, or sparks from causing eye injuries. Proper gear ensures you stay protected throughout the speed limiter removal process.
2. Disconnect the Battery First
Before touching any internal components, disconnect the scooter battery completely. This simple step eliminates the risk of electric shock or accidental short circuits when handling wires connected to the speed controller or limiter.
3. Review the User Manual
Consult your mobility scooter’s user manual to understand the specific wiring layout and speed controller setup for your model. Manufacturers often include valuable information that helps identify limiter placement, wiring colors, or safety reset procedures. Having a clear understanding of your scooter’s internal design makes the mobility scooter speed limiter removal process much easier.
4. Use the Correct Tools
Use tools designed for small electrical components to ensure a precise and safe mobility scooter speed limiter removal. Avoid using oversized screwdrivers or generic pliers that could strip screws or damage connectors. The right tools not only make your work efficient but also protect your scooter’s electrical system from unnecessary wear or breakage.
5. Work in a Clean, Well-Lit Area
Choose a well-lit, clutter-free workspace to perform the modification. Proper lighting allows you to clearly see each step and prevent mistakes when removing or reconnecting wires. If possible, place the scooter on a flat surface or maintenance stand to keep it stable throughout the process.
6. Double-Check All Connections After Reassembly
Once you’ve finished the speed limiter removal, inspect all electrical connections and wiring to ensure they are properly secured. A loose connection can affect your scooter’s performance or lead to intermittent power issues.
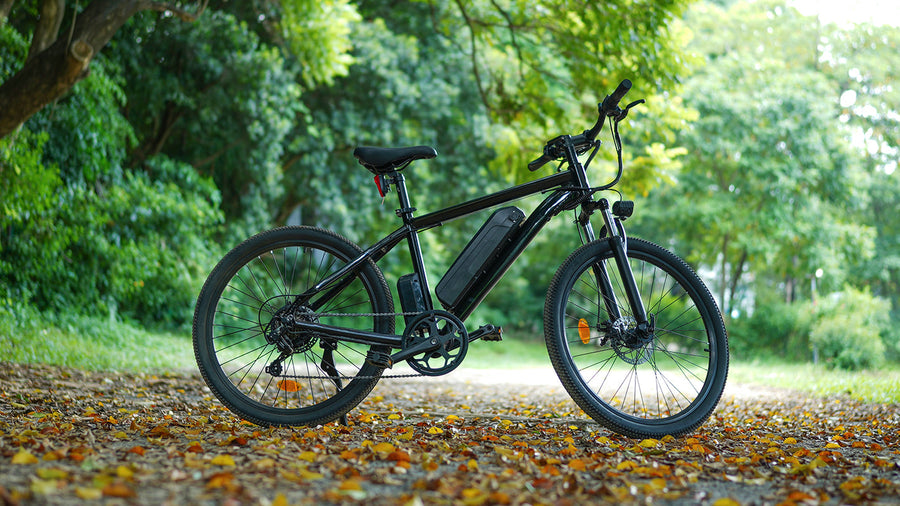
Check Out iScooter’s High-Performance Mobility Scooter
| Image |  |
|
Model |
|
|
Price |
£488.99 |
|
Battery |
24V 12Ah |
|
Max Speed |
5MPH |
|
Range |
12.4 Miles |
|
Tyre |
8" Solid Tires |
|
Storage |
Front storage basket, Cup holder |
Conclusion
A mobility scooter speed limiter removal lets you unlock extra speed and smoother performance from your scooter. By carefully following the right steps—checking specifications, locating the limiter, and testing after adjustments—you can boost power safely and effectively. With the correct tools and precautions, your mobility scooter can deliver improved speed, control, and a more enjoyable ride.
FAQs
Can you remove a factory speed limiter?
Yes, you can remove a factory speed limiter on many scooters. The mobility scooter speed limiter removal process depends on the model—some can be adjusted through the controller settings, while others require disconnecting or rewiring the limiter manually.
Which wire is the speed limiter on a scooter?
The speed limiter wire is usually a thin connection linked to the scooter’s controller or motor system. It’s often found under the seat or front shroud and may be labeled or color-coded in the wiring diagram for easy identification.
How can you make a mobility scooter go faster?
You can make a mobility scooter go faster by performing a speed limiter removal, upgrading the battery, or switching to performance mode (if available). Always ensure your scooter remains stable and safe after adjustments.
Where is the governor on a mobility scooter?
The governor or speed limiter is typically located near the controller box, under the seat, or behind the scooter’s front panel. It controls how much power goes to the motor, limiting your scooter’s maximum speed.
iScooter E Scooter Collections:
Electric Scooter | Kids Electric Scooter | Electric Scooter for Adults | Electric Scooter with Seat | Off-Road Electric Scooter | Foldable Electric Scooter | Girls Electric Scooter | 1000W Electric Scooter | 2000W Electric Scooter | Boys Electric Scooter | Dual Motor Electric Scooter | Big Electric Scooter | Electric Scooter with Suspension | Lightweight Electric Scooter | Commuter E-Scooters | 3 Wheel Electric Scooter
Show more ▼iScooter E Bike Collections:
Foldable Electric Bike | Affordable Cheap Electric Bike | Electric Bike for Adults | Electric Motor Bikes | Trek Electric Bike | Fastest Electric Bike | Electric Road Bike | Full Suspension Electric Mountain Bike | Giant Electric Bike | Womens Ladies Electric Bike | Mens Electric Bike | Electric Bike with Throttle | Electric Gravel Bike | Electric Mountain Bike UK | Fat Tyre Electric Bike | Electric Hybrid Bike | Electric Motorised Bike | Electric Push Bike | 1000W Electric Bike | Cool Electric Bikes | Electric Off Road Bike | Pedal Assist Electric Bike | Good Electric Bikes | Small Electric Bike | Trek Electric Mountain Bike | 2000W Electric Bike | Full Suspension Electric Bike | Mini Electric Bike | Road Legal Electric Bike | Step Through Electric Bike
Show more ▼👍 Buying Guide | 🚴♂️ Riding Guide
📋 Feature Guide | ❓ Common problem

Product category
Electric Scooter
Cheap Electric Scooters for Adults | Fastest Electric Scooter | Kids Electric Scooter | Mini Electric Scooter
Electric Bike
U4 Foldable E-bike | EB3S E-MTB
Hoverboards
Electric Scooter for Kids | iK3Pro E-Scooter for Kids | iK7 Height Adjustable Kids E-Scooter


Article tags :
Leave us a message